As a former Jeep engineer, I’ve spent countless hours diagnosing and rectifying wheel-related dilemmas, but nothing surprised me more than the first time I saw the aftermath of a rugged off-road trek. We emerged from the trails exhilarated, yet greeted by a troubling sight: my friend’s aluminum wheels were shedding their clear coat, layer by layer. This isn’t just an aesthetic issue—it’s a sign of compromised wheel protection. Curiosity piqued, I delved into understanding why this happens and how to fix it. As I studied wheel care, one clear point emerged: effective clear coat removal from aluminum wheels can transform both the look and lifespan of your vehicle. In this guide, I’ll walk you through the clear coat removal process, ensuring your wheels regain their true sheen. Ready to learn the secrets of meticulous car wheel care? Let’s dive into the step-by-step process that every car enthusiast should know.
What is Clear Coat?
During my time as an automotive engineer, I learned that the clear coat isn’t just for looks; it serves as a protective barrier against the elements. Did you know that the clear coat on your wheels plays a critical role in their longevity? This layer is more than a glossy finish. It shields aluminum wheels from harsh road conditions, corrosive chemicals, and relentless UV exposure. I vividly remember a project where my team tested the effects of UV exposure and corrosion on wheels with and without clear coats. The results were astonishing.
The clear coat acted like a knight’s armor for our wheels, preserving their shine and ensuring robustness against potential damage. Without it, wheels quickly succumbed to the environmental stresses, losing their luster and structural integrity much sooner than their protected counterparts. Understanding the scientific background of this coating opened my eyes to the balance of aesthetics and practicality in automotive design. It also made me appreciate the intricacies involved in removing it when necessary.
Although removing the clear coat is sometimes necessary—perhaps to restore a wheel’s appearance or to address damage—recognizing its purpose gives us appreciation for its role. This task demands precision and care, respecting what’s being undone. Preparation and the right approach are essential as we dive into the techniques required to safely and effectively remove it.
Why Remove Clear Coat?
Wondering why you should bother removing clear coat from your wheels? It’s a question I’ve often asked myself, especially after witnessing the dire consequences of neglect. In my journey, I’ve come across numerous instances where a bit of preemptive care could have saved a lot of hassle. A vivid example that lingers in my memory involves a friend who dismissed the significance of his wheels’ peeling clear coat. By the time he decided to rectify it, the damage was extensive, leading to severe pitting and an exorbitant repair cost he hadn’t anticipated.
From my own experience, I’ve learned that timely clear coat removal isn’t just about maintaining aesthetic appeal—it’s a cost-saving measure. Aluminium wheels with peeling clear coat often end up corroded as moisture and pollutants seep in, exacerbating damage. Ignoring these signs can spiral into larger problems, eating away at the wheels’ structure and surface.
It’s not merely a question of if, but when and how strategically you tackle this task. By choosing to remove and refresh the clear coat at the right moment, you avoid letting minor wear and tear evolve into major damage. Remember, proactive maintenance is always more economical than reactive repairs. Don’t wait until it’s too late!
Who Should Remove Clear Coat?
As I made my shift from engineering to writing, one thing became incredibly clear to me: clear coat removal is a task that’s wonderfully accessible. But who should remove clear coat? Is this a task for the seasoned mechanic or the casual DIYer? During my Jeep days, I often guided friends through this very process, and let me tell you, the satisfaction is universal.
Taking on such a project isn’t solely for the seasoned pros out there. I remember helping a novice DIYer who had never touched a wheel with the intention of stripping it down. Though hesitant at first, his enthusiasm grew with each layer removed, turning into a sense of pride when he saw that gleaming aluminum shine through. It’s a fulfilling endeavor for anyone willing to roll up their sleeves, whether you’re a complete beginner or a garage enthusiast.
Embrace the challenge and let your curiosity guide you. With a few essential tips and a bit of patience, you too can tackle this DIY project and revel in the transformative results.
When to Remove Clear Coat?

I’ve learned that timing can be everything in vehicle care. When is the right time to tackle clear coat removal on your wheels? My own journey with my car has shown me the importance of observing and acting. After a particularly rough winter, I delayed removing the clear coat on my wheels, thinking it could wait until warmer weather. By spring, I noticed extensive damage that could have been avoided had I taken action earlier.
It’s crucial to watch for indicators like peeling, fading, or a chalky appearance—signs that it’s time to consider removal. These visual markers are clear signals that preservation and maintenance are needed. From my experience, ignoring these signs only leads to bigger problems down the line. If left unchecked, the damage to the aluminum itself may become extensive and costly to repair.
Trust your instincts and your eyes. Early intervention can preserve the beauty and integrity of your wheels. Timing isn’t just about convenience—it’s about knowing when your wheels are asking for a little extra care.
How to Remove Clear Coat: Step-by-Step Guide
Preparing the Wheels
What’s the first step before you start stripping the clear coat? It’s simple, yet critical: preparation. Over the years, I’ve discovered that preparation is not just an initial task but a pivotal step that can make or break the end result.
One of my earlier lessons came when I haphazardly began removing the clear coat from a friend’s aluminum wheels. Without proper preparation, the result was an uneven mess, a mistake I never forgot. Now, I always stress the importance of thorough preparation. Cleaning aluminum rims isn’t just about aesthetics; it removes grime and debris that could compromise the finish. Ensuring the workspace is well-ventilated and free from distractions is vital to both your focus and safety.
Preparation extends beyond just the physical wheels. Embracing safety precautions for clear coat removal can significantly influence not just the quality of your work but also your well-being. Taking these essential preparatory steps forms a solid foundation for successfully removing the clear coat, leading to a smoother, more polished result.
Choosing the Right Product

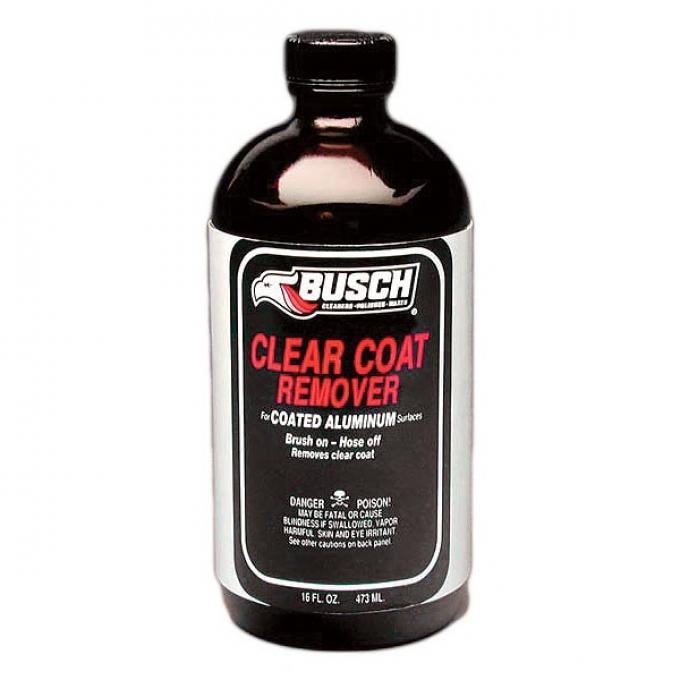
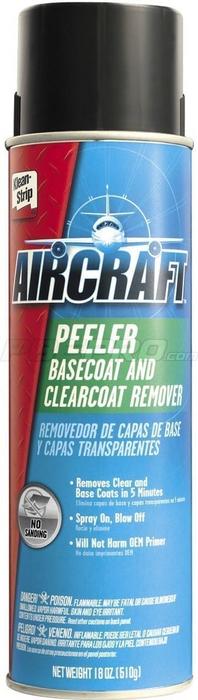
Choosing a product can be overwhelming—how do you pick the right one? With so many clear coat removers available, it’s critical to select a product that’s both efficient and safe for aluminum wheels. Throughout my career, I’ve encountered dozens of paint strippers and removers tailored for different scenarios. Once, I made the mistake of picking a product based solely on brand reputation, only to find it fell short in effectiveness. Now, I stress the importance of reading user reviews and seeking out specialized products for aluminum.
Among the best products for clear coat removal, my preference leans towards a biodegradable option. It not only protects the environment but also effectively strips away the clear coat without harming the wheel. This product’s gentle formulation is crucial for maintaining the integrity of your wheels, a testament to the balance between efficiency and safety.
As you prepare to embark on this DIY journey, remember that the right product makes all the difference. With careful selection, the process of removing clear coat becomes straightforward and rewarding, leaving your aluminum wheels pristine and ready for the next step in care.
Application Techniques
What’s the best way to apply your chosen product and ensure good results? Over the years, I’ve discovered that the technique of applying the product can make or break the project. I once watched a colleague hurriedly slather on the remover without much thought, and the unevenness was a lesson learned for both of us. Successful removal stems from knowing the best removing clear coat techniques. After much trial and error, I have come to trust the consistency of a foam applicator—it ensures that each stroke is uniform. Using this tool, I can manage my application with greater control, keeping the finish even as I work through the process.
Before starting, read the product instructions with great care, paying attention to the recommended method for application. Stripping clear coat effectively involves applying a steady hand and patience, something best achieved by working in small, manageable sections. Aim to apply as evenly as possible, which prevents damage to the aluminum beneath. Maintaining this focus ensures not just efficiency but also precision, leading to a cleaner final result. Remember, technique isn’t just about the tools you use—it’s also about the mindset you adopt throughout the process. Implement these strategies, and you will see the fruits of your diligence and skillful application unfold beautifully.
Post-Removal Care
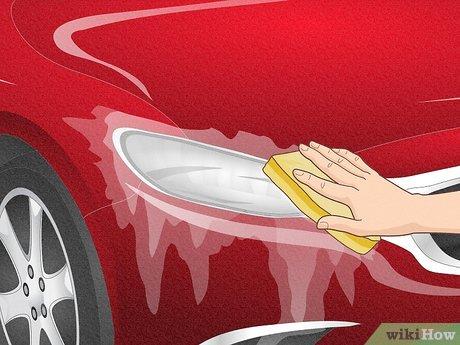
What happens after the clear coat is gone—what’s your next move? This phase is more than just the aftermath; it’s crucial to ensuring your hard work pays off. After stripping the clear coat from aluminum wheels, I’ve learned firsthand that neglecting this step is a common mistake that leaves wheels looking lackluster and prone to corrosion. After one meticulous removal session, I found myself staring at wheels that lacked the shine I was aiming for. The solution is simple yet often overlooked: polishing your aluminum wheels.
Polishing does more than just bring back a beautiful luster; it ensures that your wheels have a protective layer, shielding them from the elements. This step significantly contributes to automotive detailing by enhancing the overall appearance and longevity of your wheels. A high-quality polish will fill in minor abrasions and prepare your wheels to face the road with renewed vigor. Believe me, skipping this could mean your efforts are in vain.
Move forward with confidence in knowing that the final touch is what truly sets your DIY project apart. With this essential step, you’ll realize the transformation that simple care and attention can bring to your aluminum wheels, completing the job right and sealing your success.
Safety Precautions
Having spent years navigating technical settings, one thing I’ve learned is that safety isn’t just a suggestion—what precautions should you take?? This question is fundamental, especially when tackling the clear coat removal process on aluminum wheels. Early in my career, I made the mistake of underestimating the importance of proper ventilation. I paid the price by inhaling damaging fumes, a lesson that has stuck with me ever since.
When it comes to removing clear coat, protecting yourself is crucial. I always wear a mask and goggles. The reality is, these simple items serve as your first line of defense against inhaling harmful chemicals and protecting your eyes from splashes of potentially hazardous substances. In addition to personal protective equipment, ensuring your workspace is well-ventilated cannot be overlooked. Open spaces or well-aerated areas are ideal to prevent fume buildup.
Another precaution I consistently harp on is wearing gloves. They shield your hands from chemical exposure, which could otherwise lead to irritation or more severe reactions. By taking these precautions, you ensure not only your safety but also your focus, allowing you to devote your full attention to the task at hand. After all, being safe means you can enjoy the sleek, pristine look of your wheels with peace of mind.
FAQs
What materials do I need to remove the clear coat from aluminum wheels?
How do I prepare my wheels for clear coat removal?
What is the process for applying clear coat remover to aluminum wheels?
How do I ensure the aluminum wheels are smooth after removing the clear coat?
Is it necessary to apply a new clear coat after removal?
Conclusion
Feeling inspired to tackle your own wheels? Let’s recap the journey. Removing clear coat from aluminum wheels might seem daunting at first, but trust me, the process holds tremendous rewards. From understanding what clear coat is and why you might want it removed, to knowing when and how to do it right, each aspect can transform your approach to car wheel care. By embarking on this DIY endeavor, you not only save on costs but gain invaluable skills.
Reflecting on my past projects, each clear coat removal taught me something new. Starting out, I was overwhelmed by the choice of techniques and products, but with persistence, I discovered what a rewarding venture this truly is. Learning to prep the wheels, select the best products, apply them efficiently, and care for the wheels post-removal has been enriching. I urge you to embrace these steps, learn from any hiccups, and enjoy every phase of owning your car wheel care journey.